Contributing
We could use your help developing this software! All of which is free and open source under GPLv3.
Note
If you are only interested in getting your gc-1000 upgraded, this is not the section for you, see the Getting Started section for that!
Notes on formatting
Use only lowercase comments
// this is a comment

/* this comment uses
 * some features of
 * the GPS module.
 */
The docs makefile
The makefile included with this build of the docs has several new features for assisting generating new docs, most prominent being the
make graphics
option, allowing you to render .drawio graphics or other graphics into PNG images.
Using Autodesk Eagle
All of the circuit design is made with Autodesk Eagle and stored in schematics.
Generating a CAM file
To start, begin by installing autodesk eagle on your system, then with the git repo cloned, see Build from main for how to do that.
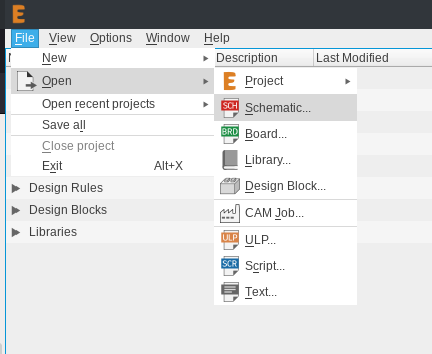
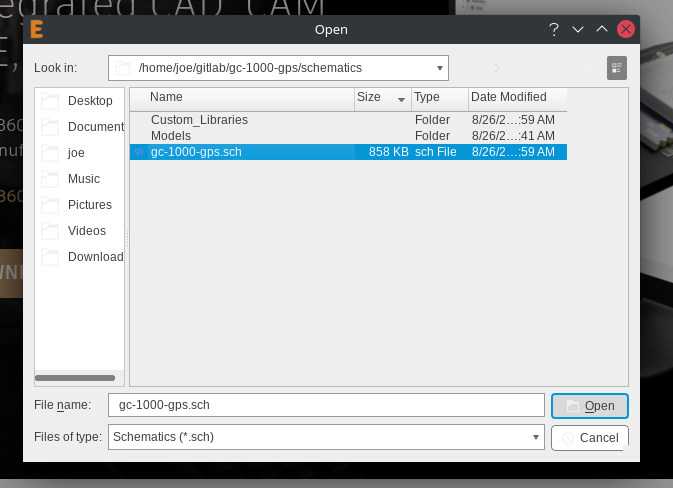
First use the file manager to navigate to the .sch file, and open it.
Then switch to board view
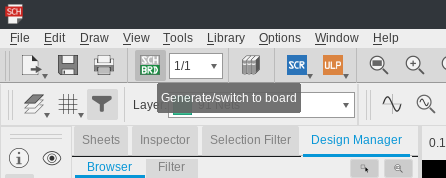
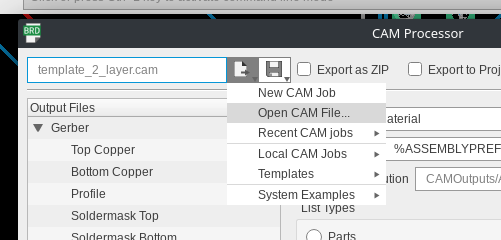
The board viewer should open, next open the CAM processor
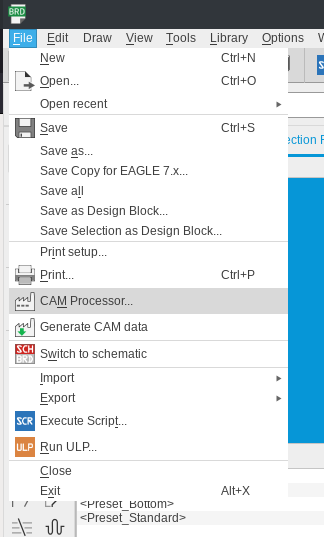
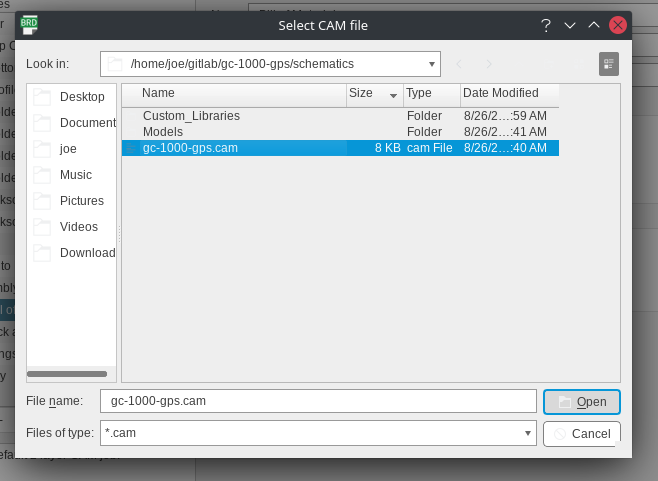
Use the included .cam file from the repo.
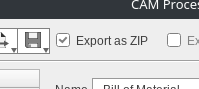
Make sure export as zip is checked.
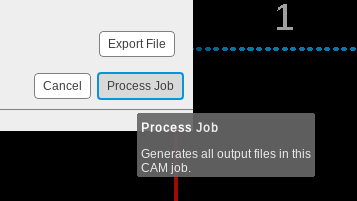
Thats it! Process the job and you’re good.
Contributing Notes
When pushing any changes back to schematic or another development branch please
be sure to update the has on the silkscreen especially before doing a CAM job.

The included script describe.sh can help automate this.
Contributing to these docs
If you’ld like to change these docs, you’re in the right place! If things are unclear or could be described better, or if there are typos or other mistakes, we would be more than happy to accept your contributions!
To get started, you must clone this repository using git, if you’re unfamiliar
with git, here is a great Getting started resource.
Note
This tutorial uses the git cli interface because it is standard on all operating systems, but these instructions are perfectly relevant if you are using for example a GUI like Github Desktop.
Cloning and building locally
- You will need:
Python
Python environment manager (optional)
GNU make
Before modifying the docs, it is good practice to make sure you can build them locally first.
Begin by cloning the gc-1000-gps repo (or a fork of this repo)
# Clone the main repo
git clone https://github.com/ac1ja/gc-1000-gps

# Clone a fork
git clone https://github.com/<your username>/gc-1000-gps
Next, navigate to the docs directory
cd gc-1000-gps/
cd docs/
Building the docs requires some python libraries, you can install these globally but is is better practice to use a virtualenv of some kind, for this tutorial i will use pipenv but you can use your favorite or none at all.
# With pipenv
pipenv install
pipenv shell

# System wide
python3 -m pip install -r requirements.txt
You can now build the docs locally, the output will be located in _build/.
# Build the HTML docs (Whats seen at https://gc-1000-gps.readthedocs.io)
make html

# Launch the HTML docs
firefox _build/html/index.html

# Build the PDF docs (What is included in the packaging)
make latexpdf

# Launch the PDF docs
firefox _build/latex/gc-1000-gps.pdf
Editing and publishing the docs
These docs are written in reStructuredText, a common and popular doc format for many open source projects.
The rstPrimer is a great place to start, you’ll find all of the .rst files located under gc-1000-gps/docs
After you’ve made your changes, it is good to create a new branch with a descriptive name and use commit messages with helpful text about what you changed, for example:
git checkout -b "fix-development-contrib-typos"

git add docs/development/contributing.rst

git commit -m "Fixed multiple typos in contributing.rst"

git push
If you forked the repository, create a pull request through github to merge your changes into main, thank you for contributing!